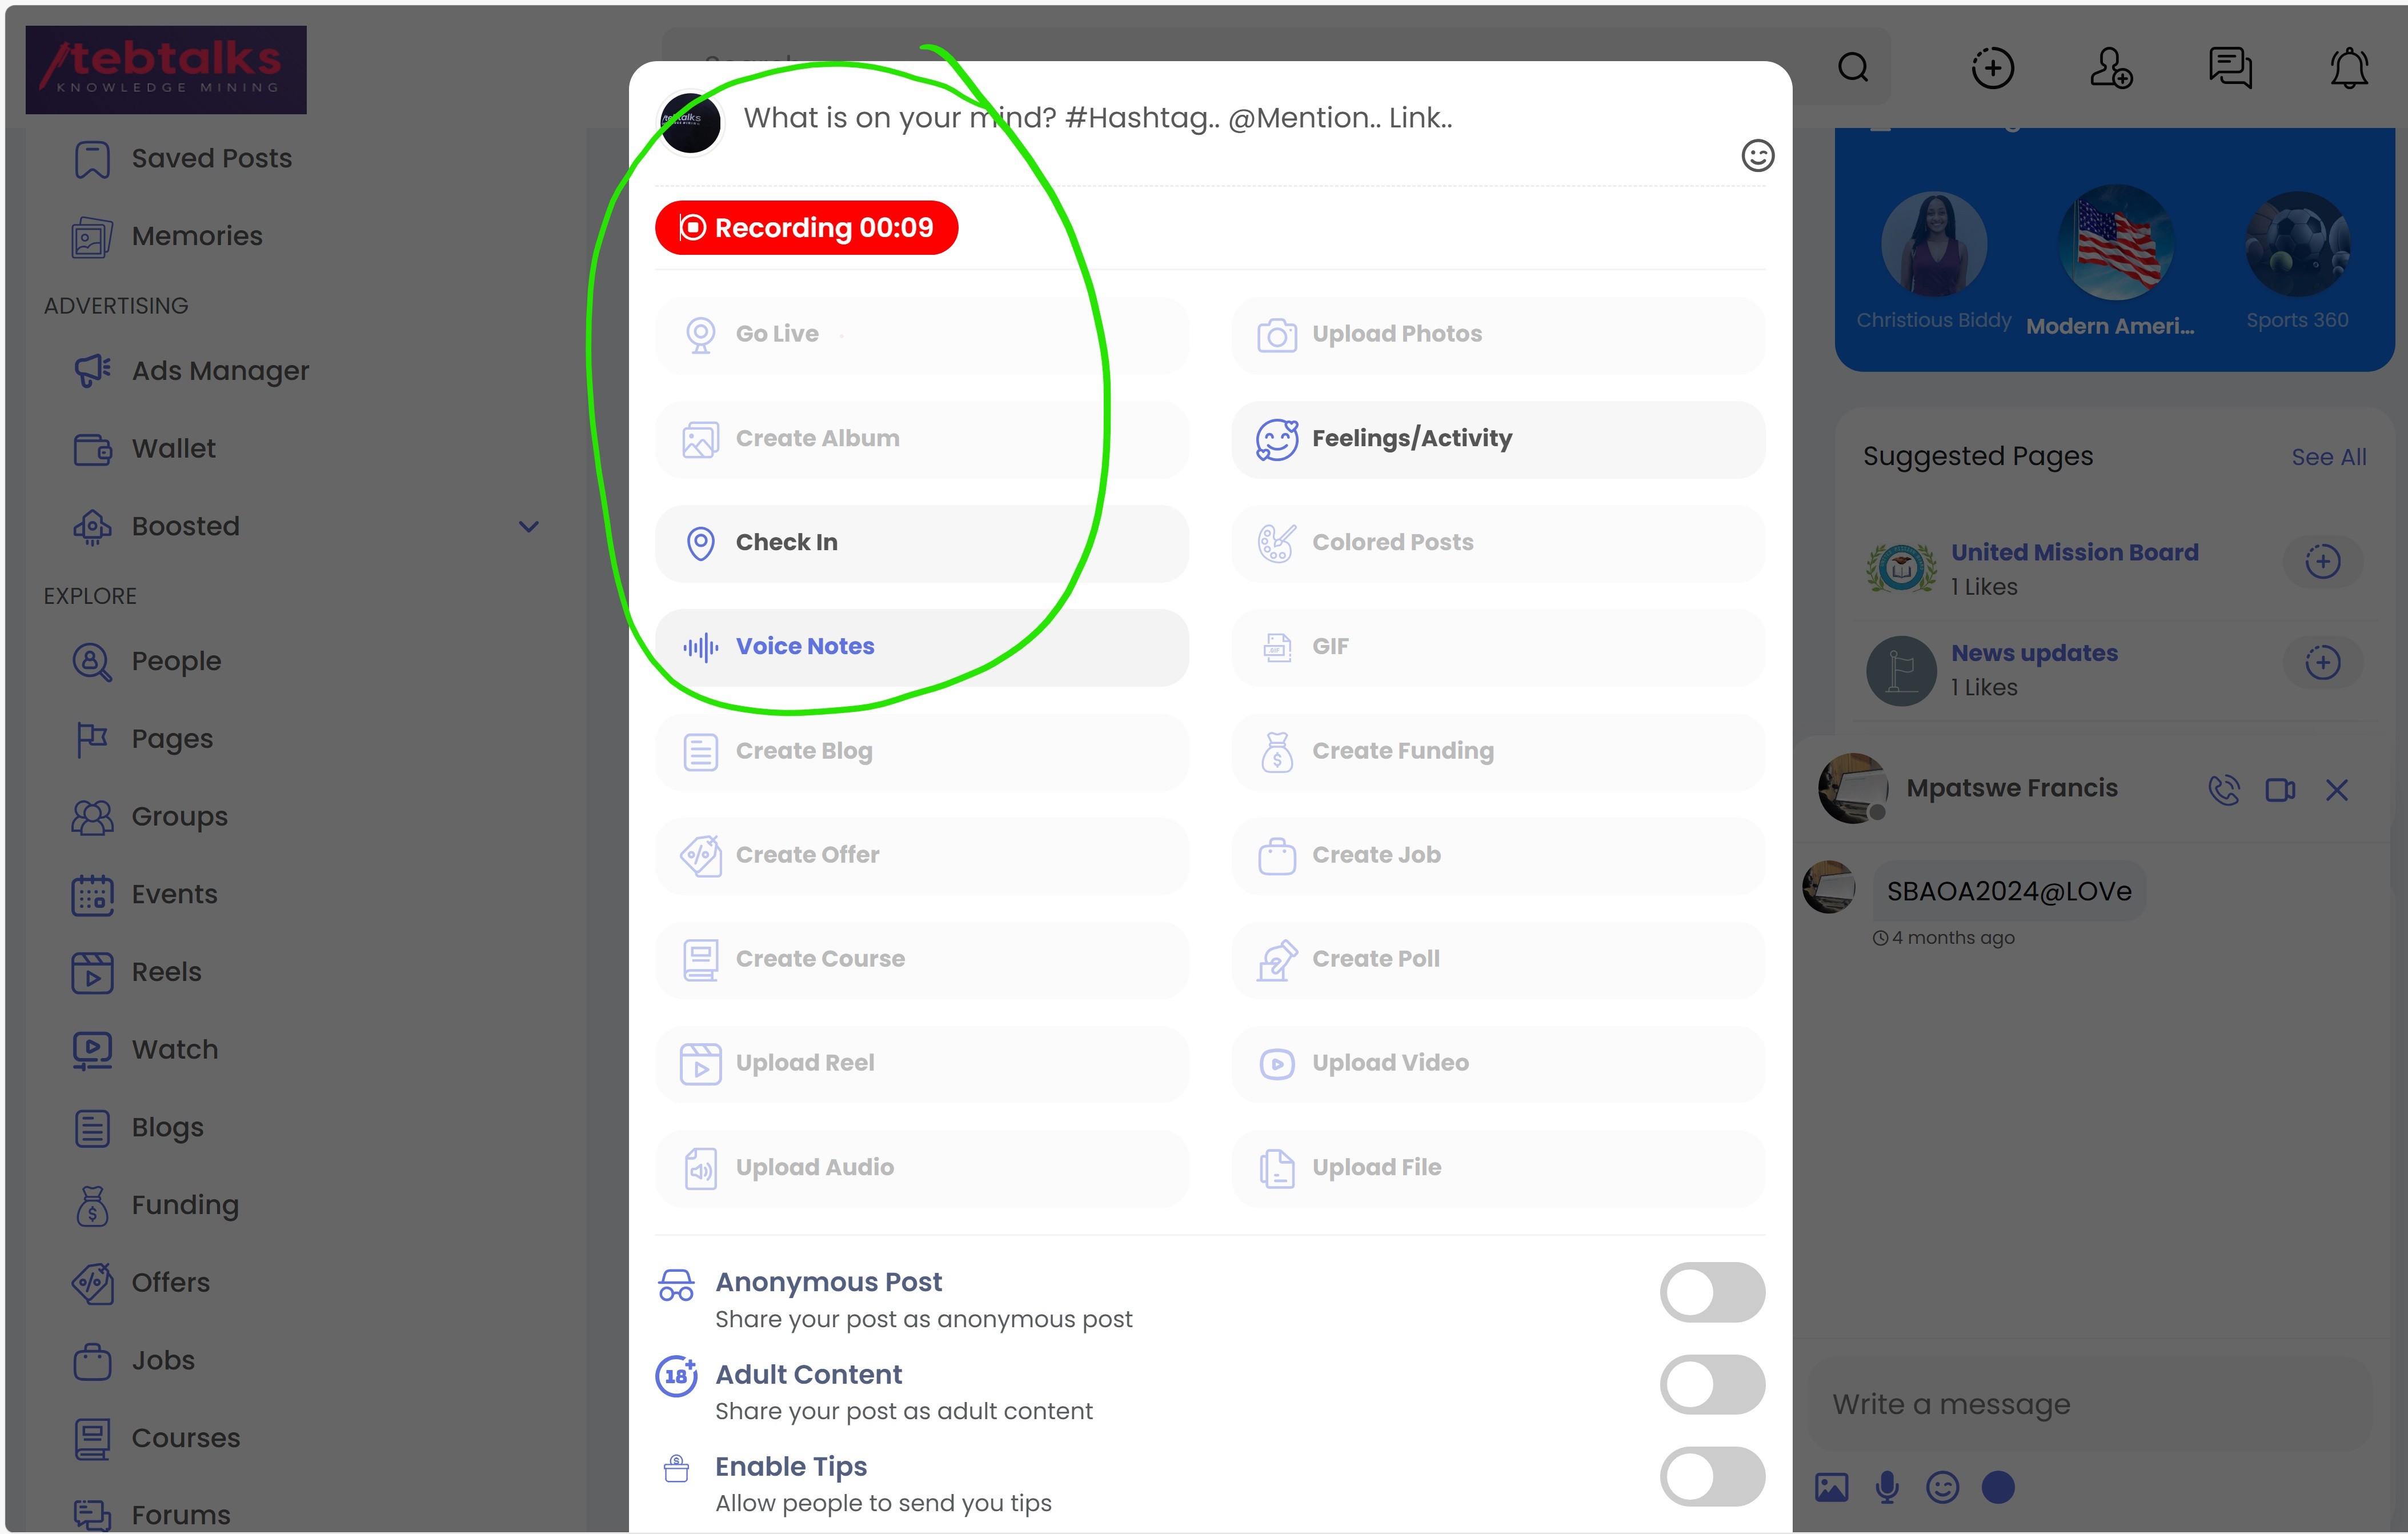
How to Start and Control Audio Recording During a Session
Click the Record button to start recording the audio.
A notification will appear to inform participants that recording has started.
To pause or stop the recording, click the Stop or Pause button in the same control panel.
Tip: Let participants know that the session is being recorded to comply with privacy regulations.

Tips for Capturing High-Quality Audio for Podcast Episodes
Use a High-Quality Microphone — External microphones often provide better sound quality than built-in laptop mics.
Minimize Background Noise — Ensure you’re in a quiet space with minimal background noise.
Use Headphones — This prevents audio feedback or echo from speakers.
Test Audio Beforehand — Do a test recording to check sound levels and clarity.
Speak Clearly — Encourage all speakers to talk slowly and clearly to improve audio quality.
Pro Tip: Tebtalks may have an audio quality enhancement feature, so check for this option in your settings.
Ending the Recording and Processing the Audio File
When the call is finished, click the End Call button.
Tebtalks will automatically stop the recording.
The system will process the audio file and prepare it for sharing.
You’ll receive a notification when the recording is ready to be shared.
Note: The time it takes to process the recording depends on the length of the session.
Automatically Sharing the Recorded Voice with the Public
Once the audio recording is processed, Tebtalks will automatically publish it to a public-facing page.
The link to the recording will be shared with all participants (if enabled) or made publicly accessible.
Share the Link — Copy the public link to share on social media, email, or your website.
You can manage or disable public sharing from the Recordings section in your Tebtalks dashboard.
Reminder: Once shared, the recording may be accessible to anyone with the link unless privacy controls are adjusted.
