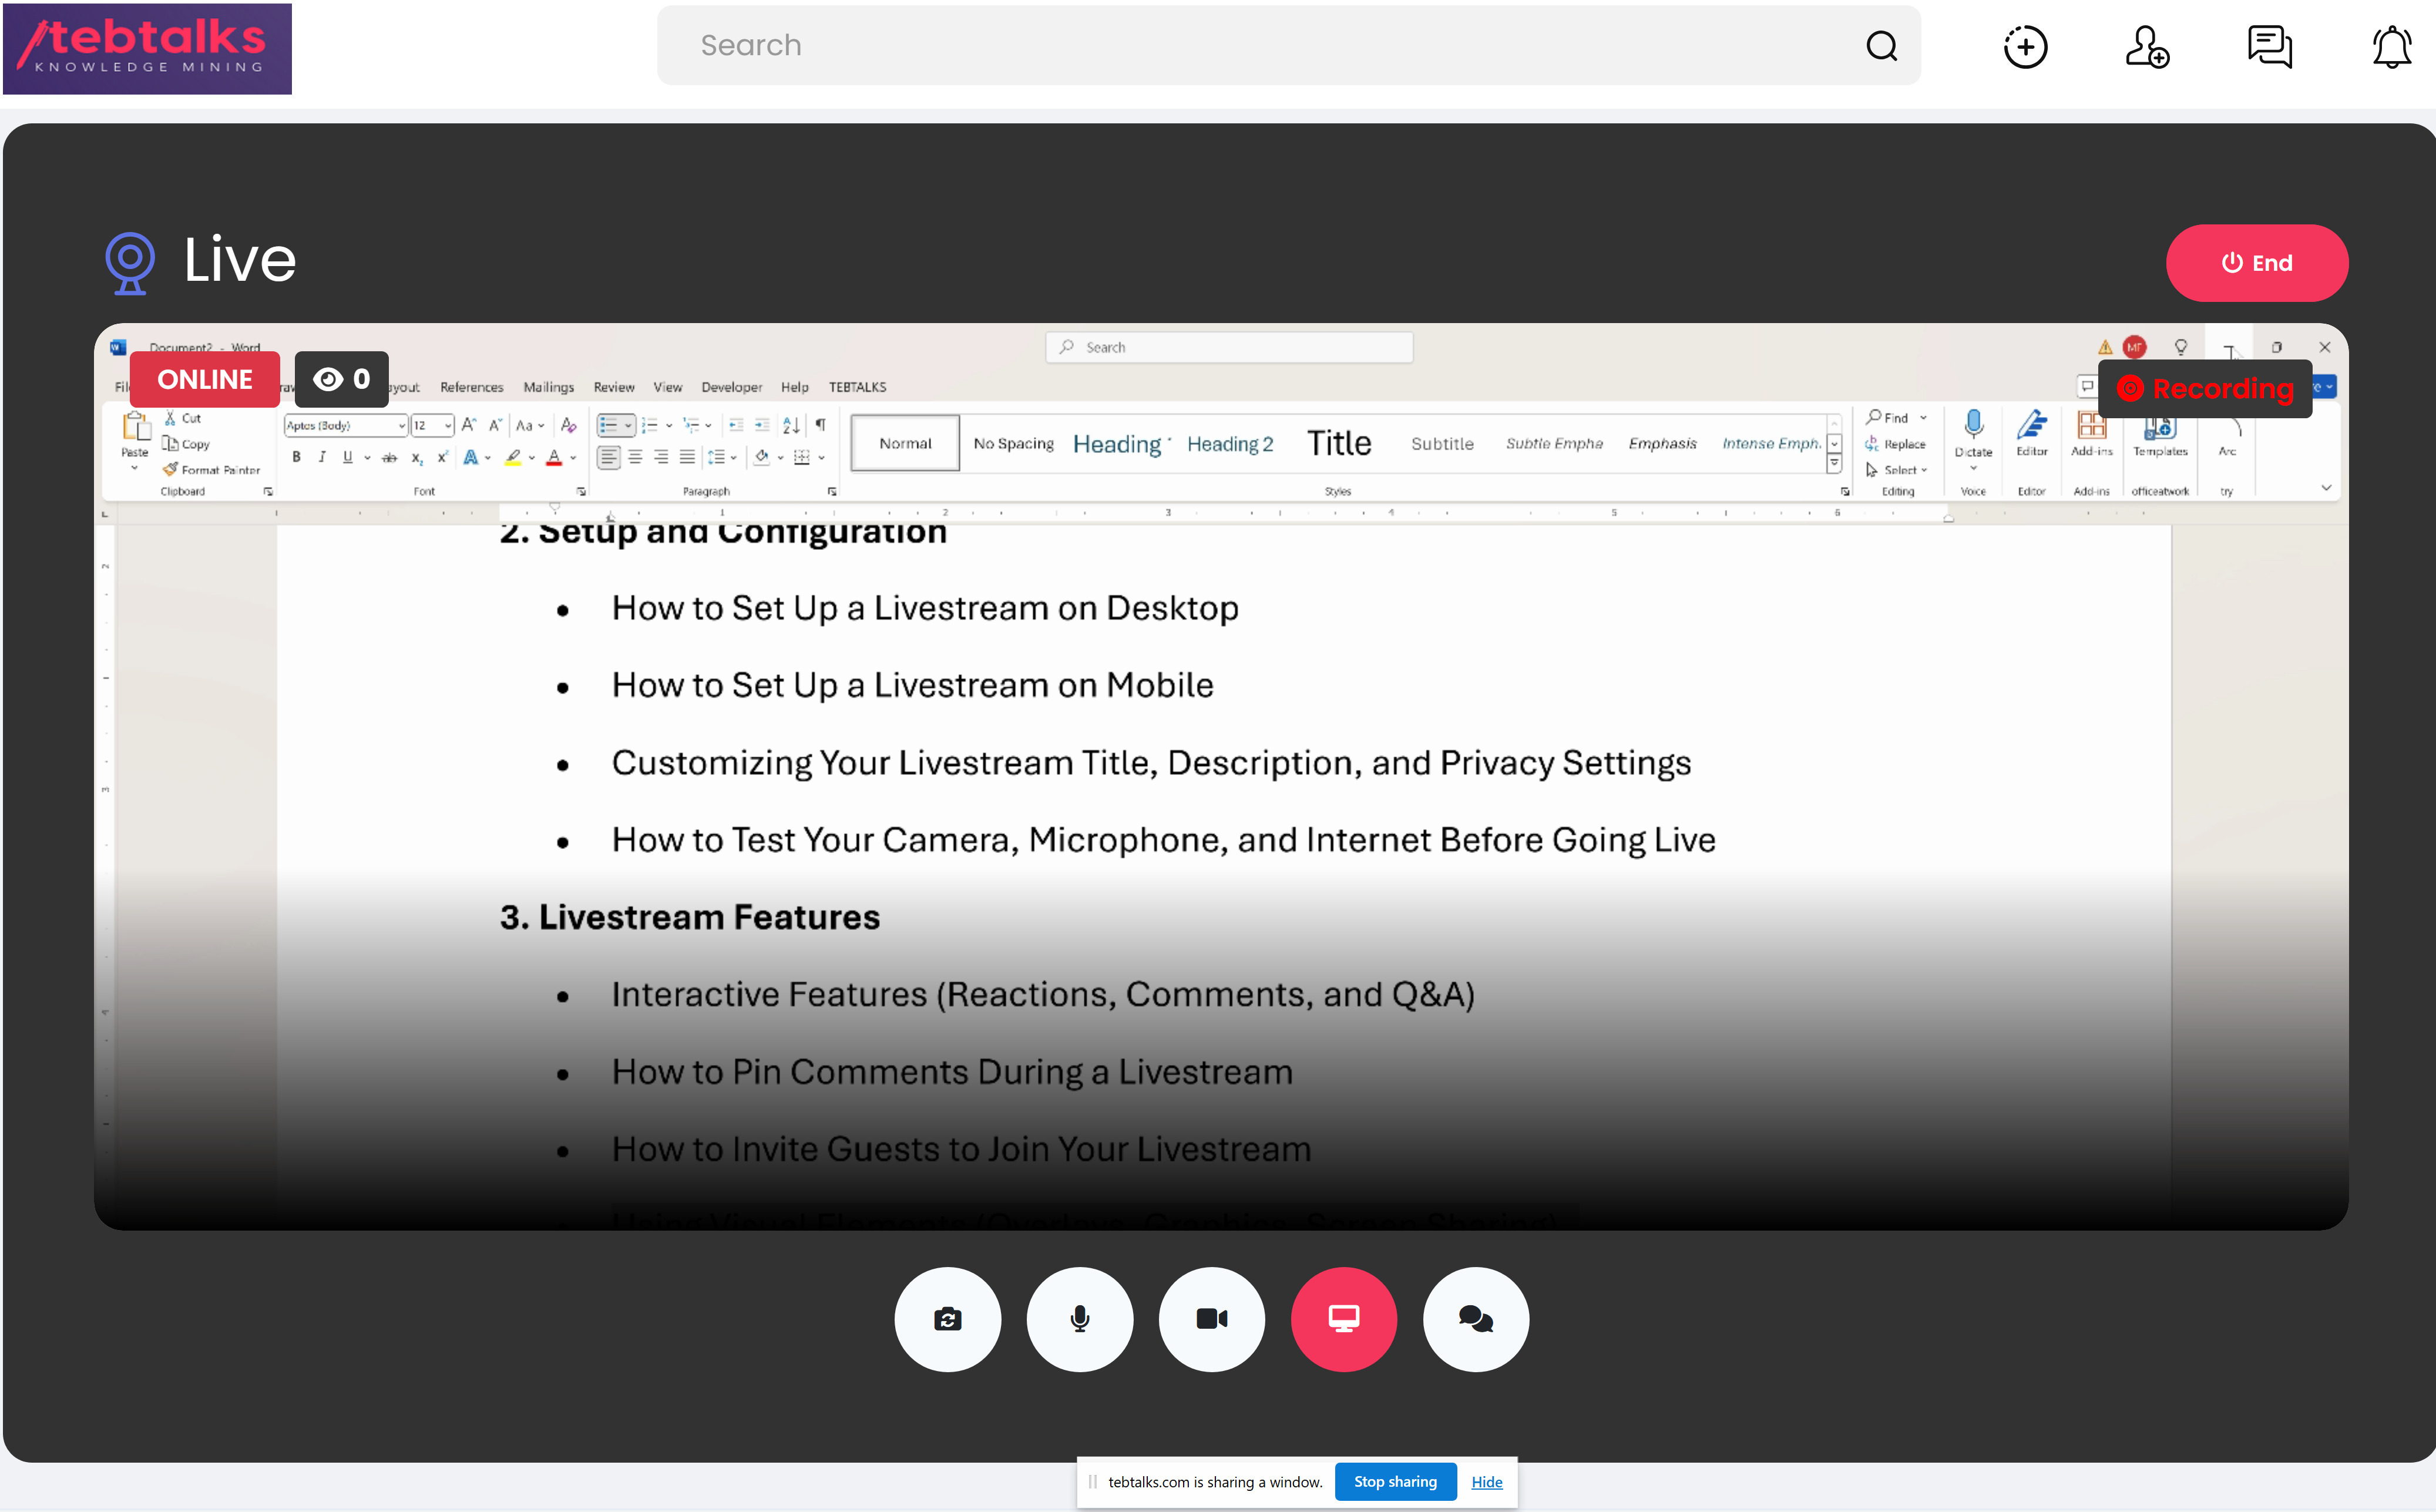
1. Using Overlays (Custom Graphics or Visual Elements)
Overlays are graphical elements that can be placed on top of your livestream to enhance the visual appeal or to display information such as your brand logo, event name, or other details.
How to Add Overlays in Tebtalks:
- Go to your livestream setup: In the Tebtalks event or livestream management section, find the option to customize your stream.
- Upload Overlays: Look for an option like Add Overlay, Add Image, or Add Graphic. You can upload an image or video file to use as an overlay.
- Positioning: Place the overlay in a desired spot, like the corners, top, or bottom of the screen. You can adjust the transparency and size if needed.
- Types of Overlays:
- Logo overlays to display your brand.
- Text overlays to show live updates or event titles.
- Lower third graphics for speaker names or information.
2. Using Graphics (Images, Logos, Text Animations)
Graphics are static or dynamic visual elements that can be used to enhance the stream’s appearance.
How to Add Graphics in Tebtalks:
- Access Graphics Settings: In the platform's settings or stream customization area, find the option to add graphics.
- Upload Static or Animated Graphics: Upload your desired image files (e.g., logos, banners) or animated GIFs for effects.
- Text Animations: You can use animated text or banners to display event details, speaker names, or live updates.
- Positioning Graphics: Like overlays, graphics can be adjusted in size and placement on the screen.
Tips for Graphics:
- Keep the graphics simple and not too overpowering.
- Use consistent branding elements like colors, logos, and fonts to keep a professional look.
3. Using Screen Sharing
Screen sharing allows you to show your screen to the audience, which is great for presentations, demos, or showing websites and applications.
How to Share Your Screen in Tebtalks:
- Start Your Livestream: Begin your stream and look for the Screen Share button in the platform's control panel.
- Select What to Share: You will be prompted to choose either your entire screen or a specific window/application (such as a browser or presentation software).
- Begin Screen Sharing: Once you’ve selected what to share, click Start Sharing. Your screen will be visible to your viewers.
- Adjust Layout: You can opt for a picture-in-picture mode where your webcam feed is visible while you share your screen, or you can switch between full screen and shared screen views.
Best Practices for Screen Sharing:
- Close unnecessary windows to avoid distractions and ensure only relevant content is visible.
- Test your screen share before the stream to ensure everything displays correctly.
- Consider using a split-screen view to show both your face and your screen at the same time.

4. Managing Visual Elements Simultaneously
To create a cohesive and professional livestream, it’s important to manage all visual elements smoothly during your broadcast.
How to Manage Multiple Visual Elements:
- Layering: Tebtalks allows you to add multiple visual elements like overlays, graphics, and screen shares. You can adjust the visibility and positioning of each to ensure they don’t overlap inappropriately.
- Switch Views: You can alternate between camera view and screen sharing. Use overlays and graphics to highlight key moments, such as showing a graphic when transitioning from one topic to another.
- Control Transparency: Adjust the opacity of your overlays and graphics if they need to blend better with the stream’s content without obstructing important areas.
5. Testing and Final Adjustments
- Test Before Going Live: Always do a test run before the actual broadcast to make sure your graphics, overlays, and screen sharing are working seamlessly.
- Monitor Live: During the livestream, you can adjust or update the visuals as necessary. If something isn’t looking right, you can quickly switch or remove an overlay, adjust the screen share, or add new graphics to keep things fresh.
